Tinted windows offer a sleek look and much-needed protection from the sun, but keeping them spotless without causing damage can feel tricky. This comprehensive guide is here to demystify tinted window care. From the best cleaning solutions and tools to expert tips and common pitfalls, we’ll equip you to keep those windows crystal clear and scratch-free for years to come. Whether you’re a new tint owner or a seasoned pro, you’ll find valuable insights to enhance your cleaning routine.
How long should I wait before cleaning newly tinted windows?
After installing tinted windows, waiting at least 30 days before cleaning the interior is crucial. This waiting period allows the mounting solution to dry completely, which can take longer in cooler or cloudy weather, sometimes up to 60 days. During the first few days after installation, avoid rolling down or cleaning the windows to ensure the tint adheres properly without bubbles or imperfections.
Cleaning Solutions Safe for Tinted Windows
When it comes to keeping your glass tinted windows in tip-top shape, using the right cleaning solution is key. It’s important to know that not all cleaners are created equal — some can actually do more harm than good. So, let’s chat about what you need to keep your tinted windows clean without causing damage.
The No-No: Ammonia-Based Products
Replacing the entire window tint is the most reliable way to eliminate scratches and restore a flawless appearance to your windows. Here’s a brief overview of the process:
- Removal: A professional installer will carefully remove the existing tint using a combination of heat, scraping tools, and cleaning solutions. This process requires expertise to avoid damaging the window itself.
- Cleaning: The window will be thoroughly cleaned to remove any residual adhesive from the old tint.
- New Tint Application: The new tint film will be carefully cut to size and meticulously applied to the window. A squeegee tool will be used to remove air bubbles and ensure a smooth, flawless finish.
Important Note: While some individuals attempt DIY window tint removal and replacement, leaving this job to a professional is highly recommended. Incorrect removal techniques can damage the window heating elements or scratch the glass.
Professional window tint installers have the experience and tools to ensure a clean removal and flawless application, ultimately saving you time, money, and frustration in the long run.
Safe Cleaning Solutions For Tinted Windows
- Soap and Water: Sometimes, simplicity is best. A little bit of soap mixed with water is a gentle option that can do wonders. Just make sure the soap is dye-free and lacks harsh chemicals.
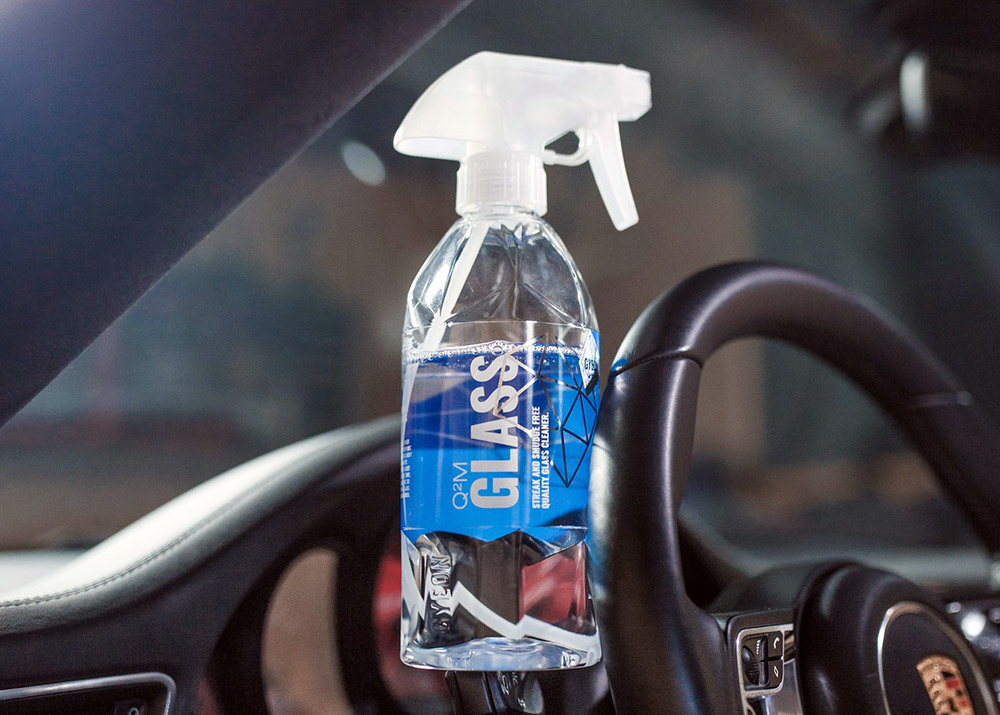
- Specialised Tint Cleaner: There are cleaners specifically made for tinted windows. These are formulated without ammonia and other harmful chemicals, so they’re well worth the investment to keep your tint looking terrific. We recommend Stoner Invisible Glass or GYEON Q2M Glass Cleaner.
- Rubbing Alcohol: For stubborn spots, rubbing alcohol can help. Just apply it sparingly to avoid damaging the tint or glass with a microfiber cloth, and then use your regular cleaning solution for the rest of the window.
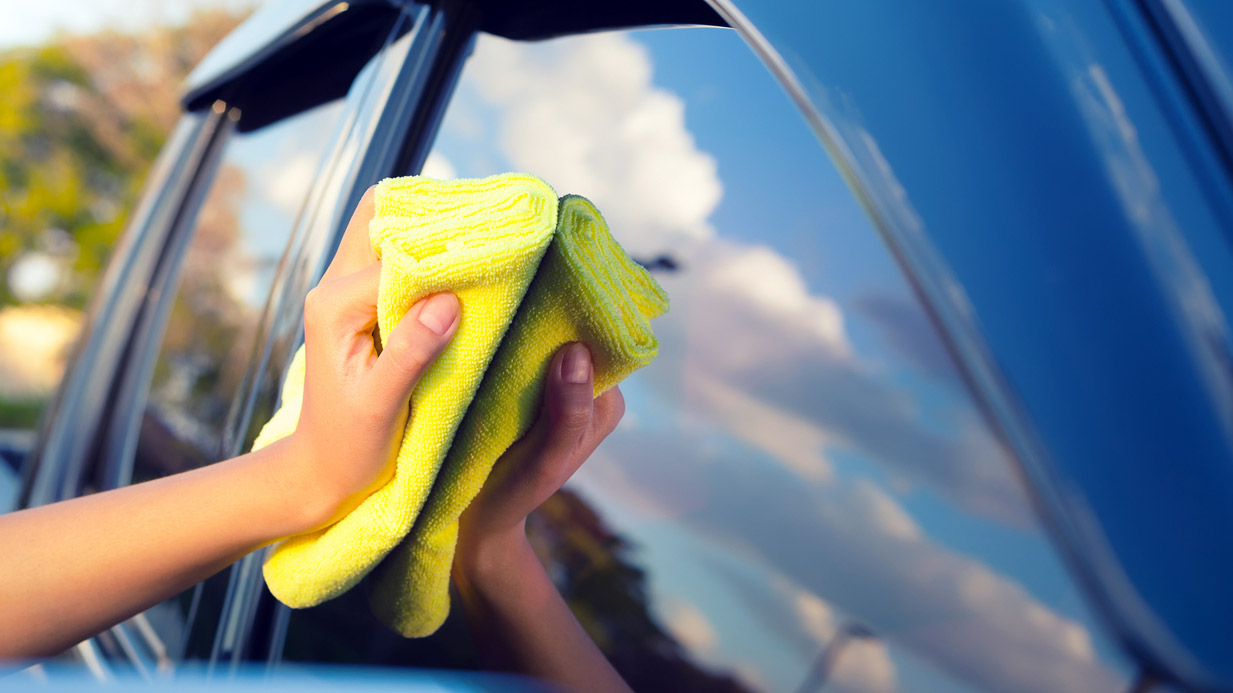
Remember to use the right cleaning tools alongside your safe cleaning solution. Soft microfiber cloths or squeegees are perfect companions because they won’t scratch the film. By combining these tools with the right cleaners, you’ll maintain the pristine look of your tinted windows with ease.

A Step-by-Step Guide to Cleaning Tinted Windows
Tinted windows can offer privacy and style, but they require careful maintenance to stay sparkling clean without damage. Follow our detailed step-by-step process to ensure they keep looking their best!
Step 1: Assemble Your Tools
Gather the necessary items for cleaning your tinted windows. This includes:
- A soft microfiber cloth or squeegee
- Tint-safe cleaning solution
- A spray bottle (if your solution isn’t pre-bottled)
- Distilled water (to avoid mineral deposits). At a minimum, don’t use recycled water (common in new house estates); use fresh water.
Step 2: Pre-Cleaning Preparation
Before applying any liquid, ensure you’re working in a shaded area to prevent the cleaner from evaporating too quickly, which can lead to streaks. Then, start with a dry cloth to wipe away any dust or lint from the window surface.
Step 3: Applying the Cleaning Solution
Spray a moderate amount of cleaning solution onto the tinted windows or into your cloth—over-saturating can lead to unnecessary wetness and potential damage to your window tints.
Step 4: Gentle Wiping Process
Use your soft cloth to gently wipe the window. Move in horizontal movements from top to bottom, or in a circular motion, to avoid streaking. If using a squeegee, start at the top and move smoothly down the window for a streak-free finish.
Step 5: Drying and Buffing
Immediately follow up with a fresh dry cloth. Buff the window to remove any residual cleaner. Proper drying ensures that your tinted windows are spotless and there are no water spots or streaks left behind. Remember to be gentle!
Step 6: Inspection and Touch-ups
Stand back and inspect the window for any streaks or missed spots. Use your cloth to lightly touch up as necessary, ensuring you’re not rubbing or exerting too much pressure, which could damage the tint.
By sticking to these simple steps, you’ll have tinted windows that are not only clean but also maintain their integrity and lifespan. Remember, the longevity of your window tints is closely tied to how well you maintain them.
Common Mistakes to Avoid When Cleaning Tinted Windows
- Using Ammonia-Based Cleaners: Ammonia can deteriorate the tint’s film, leading to discolouration and peeling. Instead, use ammonia-free products.
- Applying Excessive Pressure: Harsh scrubbing can scratch or tear the tint. Gently wipe with a soft cloth.
- Using Abrasive Tools: Avoid brushes or sponges with hard surfaces. They can scratch the tint. Use soft-bristled brushes or microfiber cloths.
- Cleaning Tinted Windows Too Soon After Installation: Allow the tint time to cure. Cleaning too early can cause the tint to peel.
- Not Regularly Cleaning the Windows: Dirt and grime can build up, especially on your car which can potentially scratch the tint. Regular cleaning maintains the tint’s condition.
- Ignoring Manufacturer’s Guidelines: Different tints have specific care requirements. Always follow the manufacturer’s recommendations to avoid damaging the tint.
By avoiding these common mistakes, you ensure the longevity and effectiveness of your tinted windows.
Expert Tips for Cleaning Tinted Windows
We spoke to David Hajgato, professional window winter at EverClear Window Tinting who provided the following expert tips:
- Choose the Right Time: Clean on a cool, overcast day. This prevents the solution from drying too quickly and leaving streaks.
- Edge-to-Edge Cleaning: Clean right up to the edges where dust and grime accumulate. This ensures comprehensive cleanliness and is especially important on your front windshield. Don’t forget to clean the difficult area around your eToll tag!
- Avoid Direct Sunlight: Cleaning in direct sunlight can cause the cleaning solution to evaporate quickly, leading to streaks.
- Ventilate During and After Cleaning: To prevent condensation and streaking, especially on the interior side of the windows, ensure good ventilation.
What’s the best thing to clean tinted windows with?
The best thing to clean tinted windows with is a gentle yet effective product, like Stoner Invisible Glass or GYEON Q2M Glass Cleaner. These products are designed to clean without leaving streaks or harming the window tint. They effectively remove dirt, grime, and fingerprints without the harsh chemicals found in many conventional cleaners. Using specialised products and a microfiber cloth ensures that your tinted windows are cleaned safely and effectively, preserving their appearance and functionality.
Can you use vinegar to clean tinted windows?
It’s generally not recommended to use vinegar to clean tinted windows. Vinegar, being acidic, can potentially harm the window tint film over time. The acidic nature of vinegar might cause discolouration or deterioration of the tint. It’s safer to use a mild, ammonia-free cleaner specifically designed for tinted windows to avoid any potential damage.

