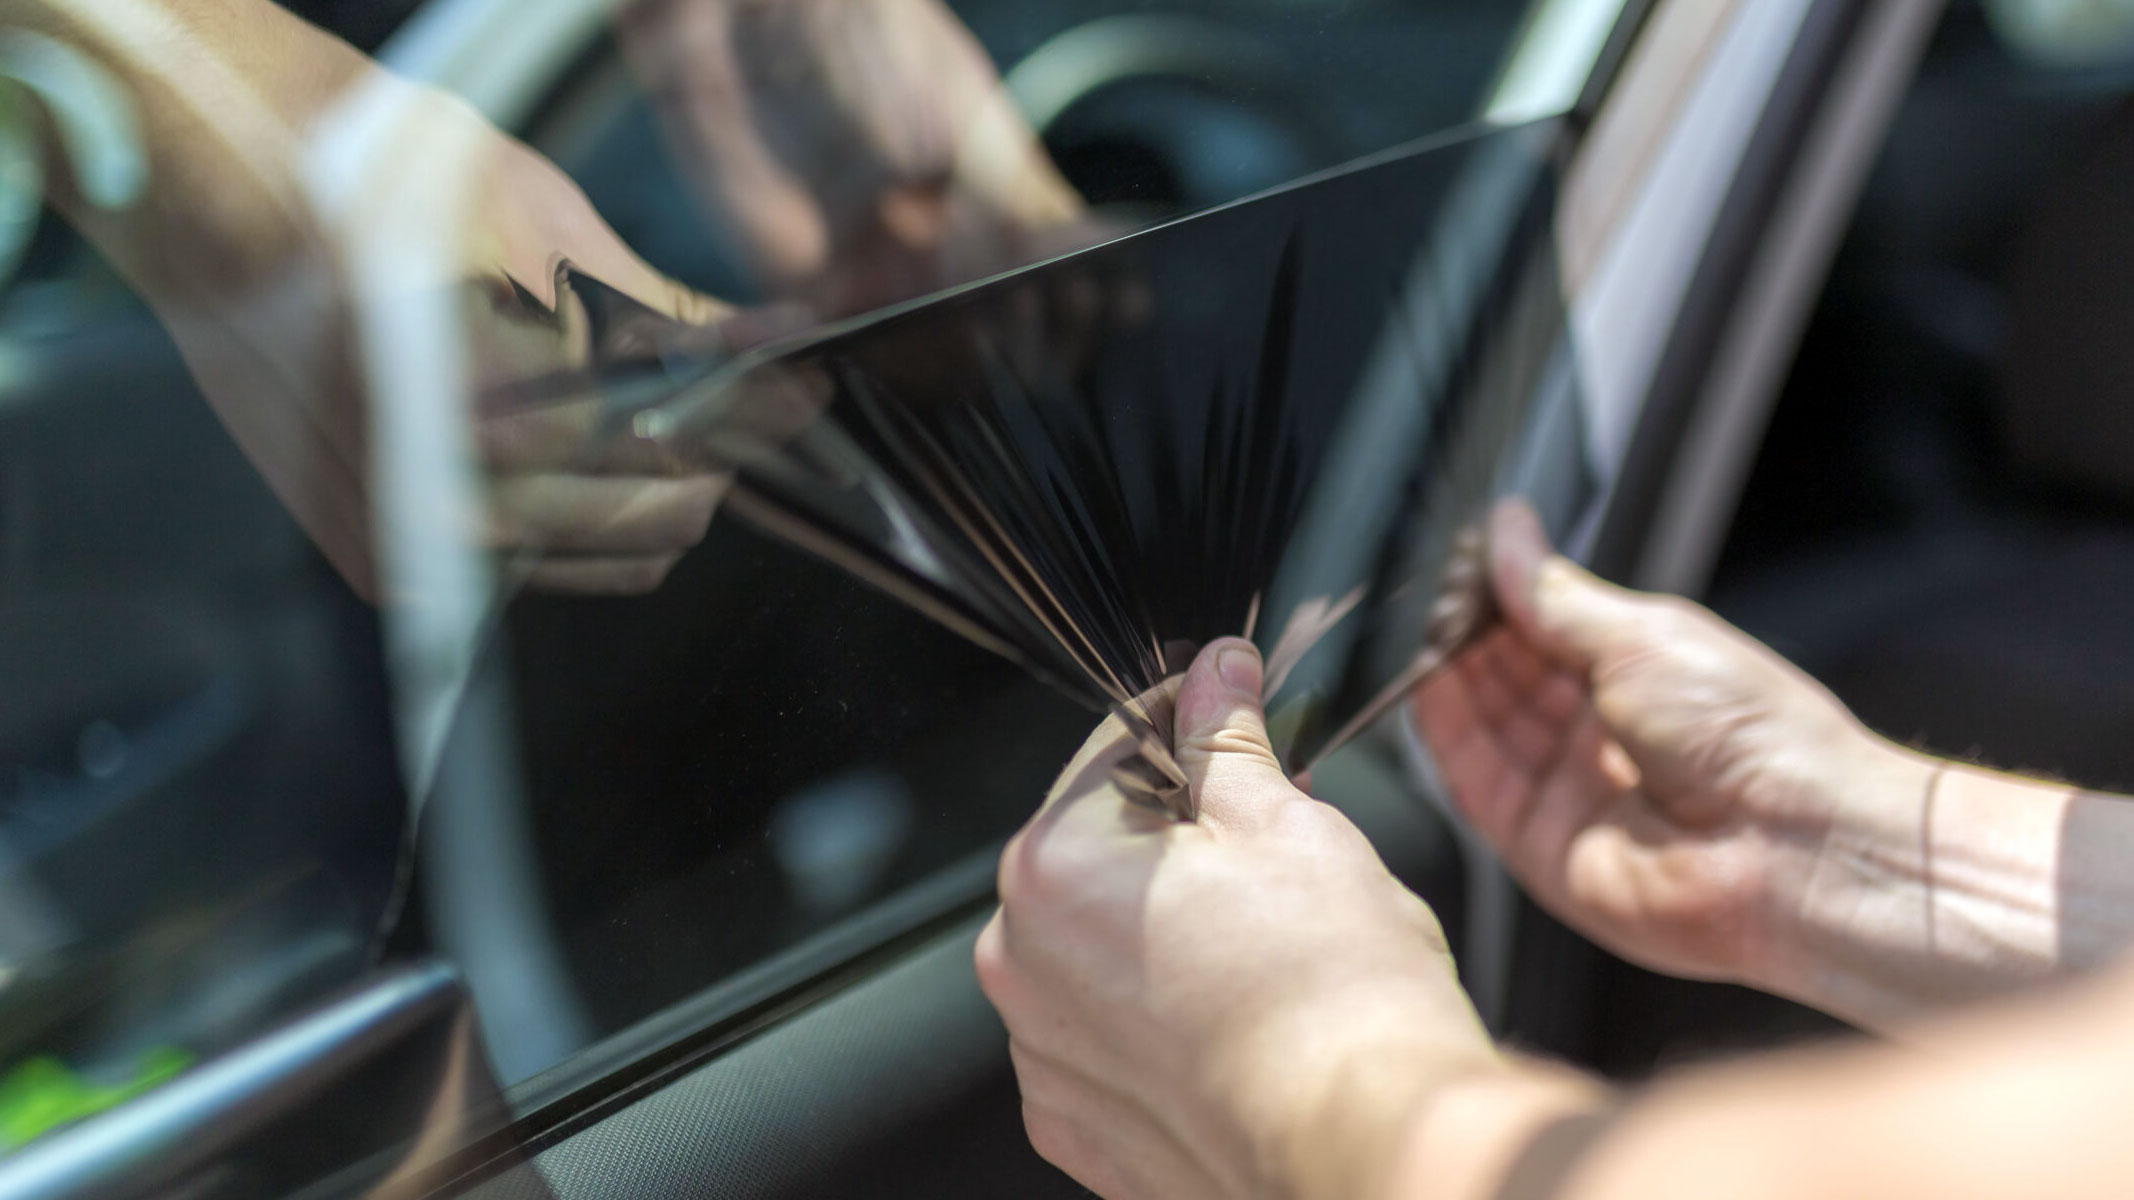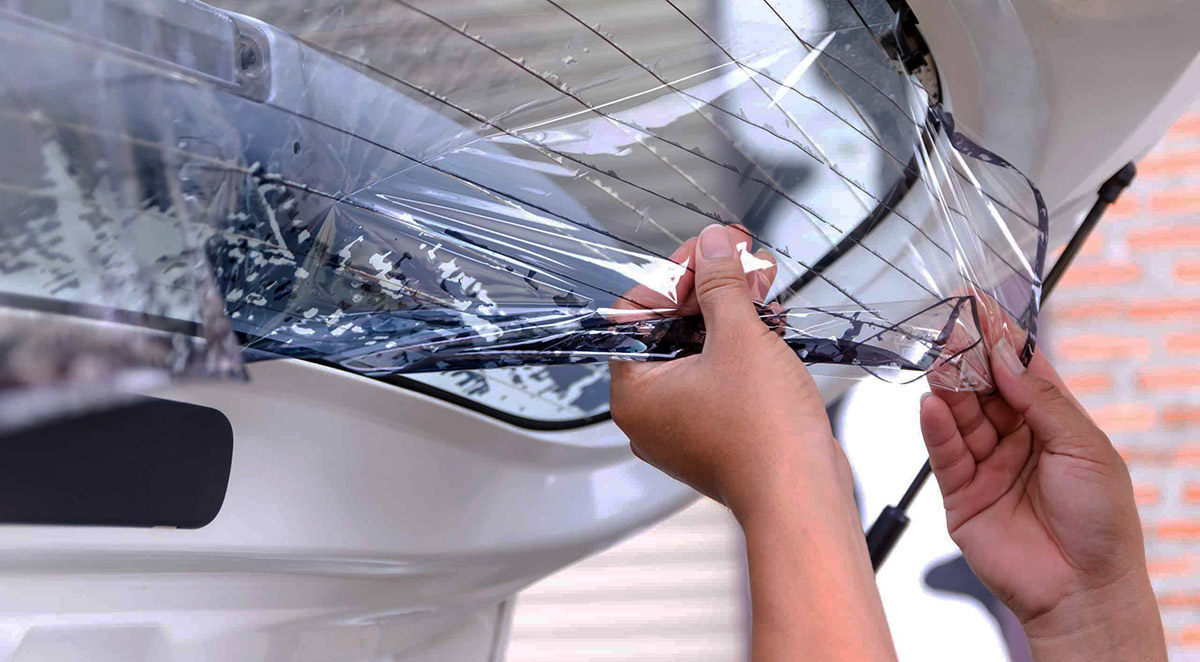
Window tints can serve as a stylish and functional addition to any vehicle, providing privacy, reducing glare, and blocking harmful UV rays. But like most car components, they have a lifespan. Over time, they might start to bubble, peel, or fade, necessitating tint removal and replacement.
If you want to remove the tint from your car windows, it’s important to do it properly. So in this guide, we’ll show you the right way to pull it off (no pun intended). Let’s get started!
The Need for Car Tint Removal
While window tinting offers several benefits, from enhanced privacy to protection against harmful UV rays, there are instances where car tint removal becomes necessary.
- Ageing or Deteriorating Tints. Over time, tint films can age or deteriorate, causing an unsightly appearance.
- Bubbling or Blistering Tints. This can occur due to improper installation or prolonged exposure to heat, hindering visibility.
- Faded or Discoloured Tints. Long-term exposure to sunlight can cause the tint to fade or discolour, diminishing its effectiveness and appeal.
- Changes in Personal Preferences. You may wish to change the tint’s darkness or colour based on evolving tastes and requirements.
- Legal Restrictions and Regulations. Laws governing tint darkness vary by state or country, and non-compliance can lead to penalties.
Potential Risks of Improper Tint Removal
Improperly removing car tints can lead to various problems. These include:
- Damage to the Glass or Defroster Lines. Tint films can be stubborn to remove and mishandling may lead to scratches or damage to sensitive defroster lines.
- Residual Adhesive on the Windows. Improper tint removal often leaves a sticky residue, reducing visibility and aesthetics.
- Reduced Visibility and Safety Concerns. Residue or a partially removed tint can obstruct clear view, posing safety risks while driving.
Car Tint Removal Techniques
So now that you know the benefits of car tint removal (and the consequences of not doing it right), let’s proceed with how to get the job done. There are two ways you can go about it: either do it yourself or call a professional.
Doing It Yourself
It’s generally recommended to seek professional assistance for car tint removal. Still, if you choose to take on the task yourself, here’s a step-by-step guide to help you through the process:
Step 1: Gather the Necessary Tools
Before starting the tint removal, ensure you have the required tools. This typically includes a heat gun or hairdryer, a clean spray bottle, a sharp razor blade or tint scraper, and clean microfiber cloths.
Step 2: Use One of the Methods Below:
- Steaming Method. Use a hair dryer or steamer to heat the tinted window and loosen the adhesive. Then carefully peel off the tint starting from one corner, using a razor blade or a plastic card to slowly separate the film from the glass.
- Ammonia/Water Solution Method. Create a mixture of equal parts ammonia and water in a spray bottle. Then spray the solution liberally on the tinted window and cover it with a plastic sheet. Allow it to soak for about an hour before peeling off the softened tint using a razor blade or a plastic card.
- Adhesive Tape Method. Cut several pieces of wide adhesive tape and stick them to the tinted window. Make sure you completely cover it. After pressing the tape firmly onto the tint, quickly and forcefully pull off the tape, which should peel away the tint film and adhesive residue from the glass surface.
Step 3: Remove Remaining Adhesive Residue
After peeling off the tint, you may be left with adhesive residue on the window. Spray the soapy water solution again and use a clean microfiber cloth or a tint scraper to remove the residue. Be careful not to scratch the glass during this process.
Step 4: Clean and Polish
Once all the tint and adhesive residue has been removed, clean the window thoroughly with glass cleaner or a vinegar-water solution. Wipe the window dry using a clean microfiber cloth. You can also apply a glass polish to further enhance the clarity of the window. To figure out how much window tint you’ll need to buy to redo the windows, check out our comprehensive guide.
Seeking Professional Assistance
While DIY methods are cost-effective, they demand patience and are time-consuming. Plus, you might end up damaging your windows if you’re not careful!
So if you’re uncertain or uncomfortable with the process, best call a car tinting professional like EverClear Window Tinting instead. Aside from having the tools and expertise, they can also ensure a clean, quick, and damage-free tint removal.
Precautions and Best Practices
Safety Measures During Tint Removal
Taking safety measures while removing car tint not only ensures the best results, but also your wellbeing. Here are some of the most important ones to follow:
- Wear Appropriate Protective Gear. This includes gloves to safeguard your hands from potential cuts from small glass shards, as well as goggles and masks to shield your eyes and lungs from any harmful ammonia fumes.
- Ensure Proper Ventilation. This is crucial especially if you’re using chemicals or heat during the tint removal. Work in a well-ventilated area or open windows to allow fresh air circulation and prevent the buildup of fumes.
- Cover the Interior and Electronic Components. This helps you avoid making a mess inside your car, not to mention protects any electrical components within from getting damaged.

Tips for Successful Tint Removal
- Take Things Slow. Do not rush the process; be patient and pay close attention to the details.
- Start from the Corners and Work Inwards. This makes the film easier to peel off.
- Remove the Tint in Small Sections. It’s easier to handle and it helps you reduce the chances of breakage.
Post-Removal Care and Maintenance
Once you’ve successfully removed the tint from your car windows, it’s essential to take good care of the newly exposed surface. Here are three valuable maintenance tips to keep your windows in pristine condition:
- Avoid cleaning the newly exposed window surface for at least a week after removing car tint to allow the adhesive residue to completely dry and the glass to settle.
- When cleaning the windows, use a mild, non-ammonia-based glass cleaner and a soft microfiber cloth to prevent scratching the glass surface.
- Consider applying a quality glass polish or sealant to protect the windows and enhance their clarity and shine. Regularly maintaining and protecting the glass will help prevent future damage and ensure long-lasting results.
How Long Does It Take to Remove Car Tint?
This will depend on the method used, as well as the number of windows. Typically, it can take between 1 to 3 hours.
How Can I Remove Window Tint Without Using Heat?
First, spray a generous amount of soapy water onto the tinted surface. Then carefully start peeling off the tint from a corner using a razor blade. Remember to keep the surface lubricated with soapy water to avoid any damage. After the tint film is removed, any remaining adhesive can be scrubbed off using more soapy water and a cloth. This method requires patience and gentleness to prevent scratching the glass.
How To Remove Baked On Window Film?
When it comes to baked-on window film, applying heat is a proven technique to break down the adhesive and make removal easier.
- Steamer: A steamer is a popular choice for softening the adhesive and peeling off the film. Work in sections, applying steam to loosen the film before carefully lifting it with a plastic putty knife.
- Heat gun: Be very cautious! Excessive heat can damage the window or surrounding car parts. Use a low setting and keep the heat gun constantly moving to avoid cracking.
For stubborn window film, sometimes chemical solutions are necessary to dissolve the adhesive and allow for easier peeling.
- Window film remover: A safer option compared to harsh chemicals like ammonia. Look for a commercially available film remover specifically designed for this purpose. Follow the product instructions for application and removal time.
- Isopropyl Alcohol (not recommended for all films): For some films, a 50/50 mix of isopropyl alcohol and water can help loosen the adhesive. However, test on a small inconspicuous area first to ensure it doesn’t damage the window tint or film.
If your window has defrost wires embedded, be extra cautious. Avoid using razor blades or harsh chemicals near them, as they can damage the wires.
For a particularly stubborn film or if you’re unsure about tackling the job yourself, consider consulting a professional window tinting service like EverClear Window Tinting.
Is Removing Car Tint Easy?
Removing car window tint can be easy or hard, depending on factors like the quality of the tint, how long it’s been there, and the installation method. In some cases, DIY removal methods can be challenging and time-consuming, requiring patience and careful execution to avoid damaging the glass. Calling upon professional tint removers is often recommended for a smoother and more efficient removal process, especially if you lack experience or the necessary tools.

